my favorite bread
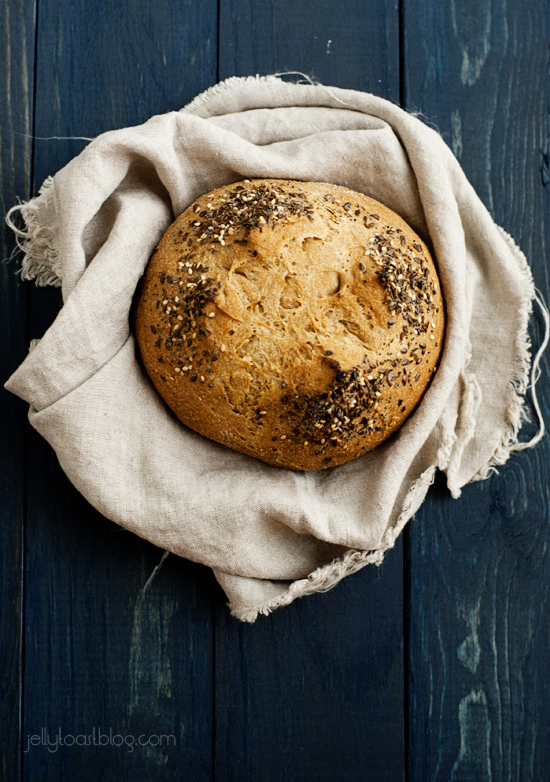
I can’t hold it in any longer. I have to share. This is my favorite bread.
It really truly is. I have come to think of this bread as ‘my bread’ but in reality it is the brain child of the two baking geniuses behind the book Healthy Bread in Five Minutes a Day, Mark Luinenburg and Zoe Francois. If you haven’t heard of or come across their books/blog, then please, pretty please, allow me to tell you about them. They (and their bread) are amazing.
My whole ‘bread baking obsession’ started back in the Spring. I had the itch to become more in charge of the main food items that my family ate everyday. I was noticing we were buying a lot of bread. A lot, a lot. And while I always tried to pick healthy options, there was a part of me that yearned to be that person who baked their family’s bread. Real bread.
I began searching around the library and online and had a great talk with the super nice librarian at my local branch. She told me about these books by Mark and Zoe, the first book being Artisan Bread in Five Minutes a Day. I checked it out of the library and instantly fell in love. But being the wannabe health nut that I am, I quickly picked up their Healthy Bread in 5 Minutes a Day and really began to see this as my bread baking answer. Simple and healthy ingredients coupled with a fairly fool proof method. Perfect for me.
This recipe that I am sharing with you today is my favorite. My go-to bread. The Master Recipe from their Healthy Breads book. I use this bread for everything. Basic loaves (as demonstrated below), baguettes, rolls, and even pizza crust. When I have my bucket of dough in the fridge, meal possibilities seem endless. I love this stuff.
The method of making this dough and bread is simple: mix all the ingredients in a large container (or food safe bucket), let it rise and refrigerate. Pull pieces of dough out of the bucket over the next 2 weeks to form a loaf, rolls or pizza. No kneading required. Beautiful.
A few pieces of equipment are needed, however, so it can be a bit of an investment. But worth it in my mind. You will need:
- 5-6 quart food container with lid
- pizza peel
- pizza stone (mine is from Williams Sonoma)
- metal broiler pan (make sure you don’t use glass, as it can shatter in the oven)
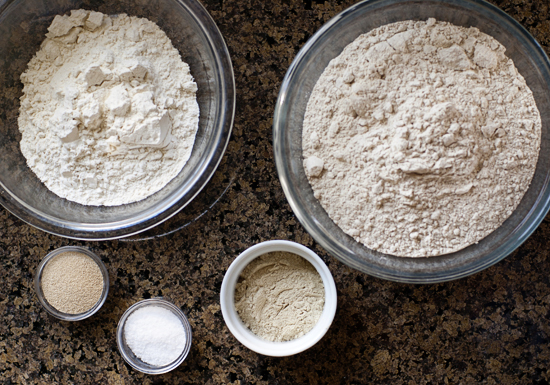
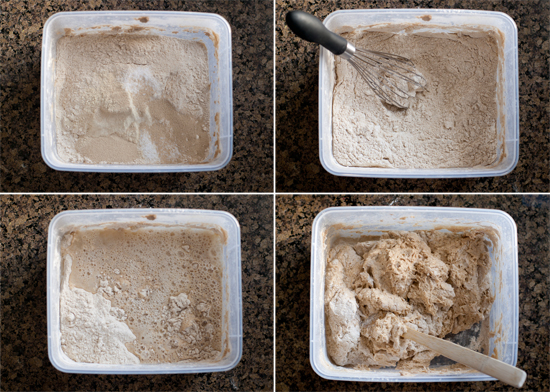
It starts with the dry ingredients:
- 5 /12 cups of whole wheat flour (I used King Arthur’s White Whole Wheat)
- 2 cups of unbleached all-purpose flour (I used King Arthur’s Unbleached AP)
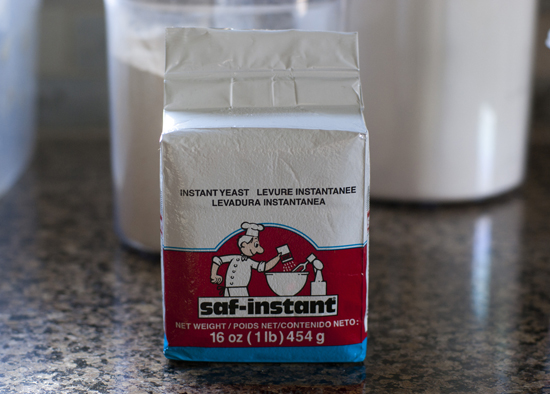
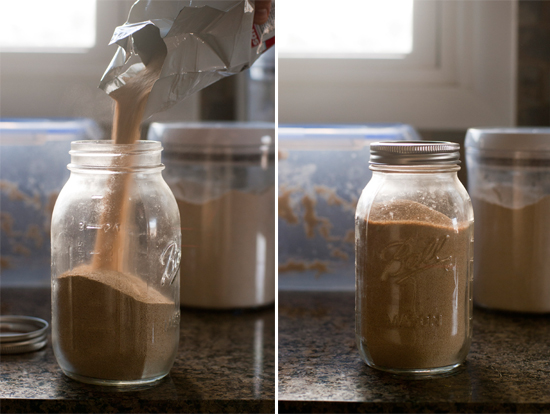
- 1 1/2 Tablespoons of granulated yeast (I used Saf Instant Yeast
, shown above. I decant it into a mason jar and store it in the fridge. It lasts a long time that way.)
- 1 Tablespoon of kosher salt
- 1/4 cup of vital wheat gluten
That’s it. Dump it all into a 5 quart food safe container with a lid and whisk it up.
Next, add 4 cups of luke warm water (100 degrees) and stir with spoon. Don’t knead it, but you may have to use wet hands to make sure it’s all mixed up.
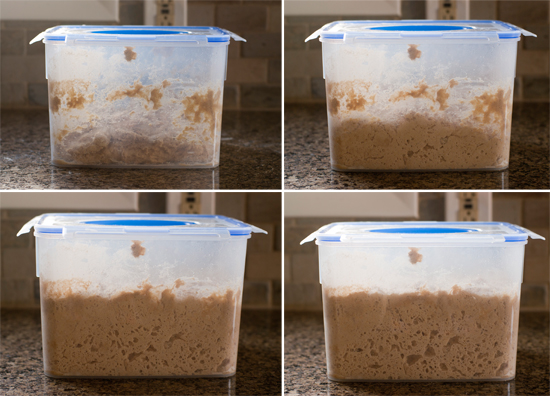
Pop the lid on but don’t worry about sealing it, as gases need the chance to escape, and let it rise for about 2 hours on the counter. I just love watching the bubbles form. I’m a dork like that.
After it’s done rising, place the bucket (still not sealed air tight) into the fridge. The dough handles best after being chilled for a couple of hours.
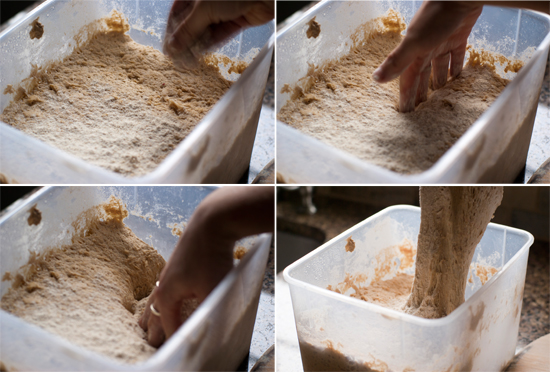
When you want to form a loaf, remove the bucket from the fridge and sprinkle a bit of flour over the surface of the dough. For a 1lb loaf, use about 1/4 of the dough from the bucket (you can weigh the dough on a kitchen scale to be sure it’s 1lb). Grab the dough gently and pull it out of the bucket. Use kitchen scissors or a knife to cut the dough.
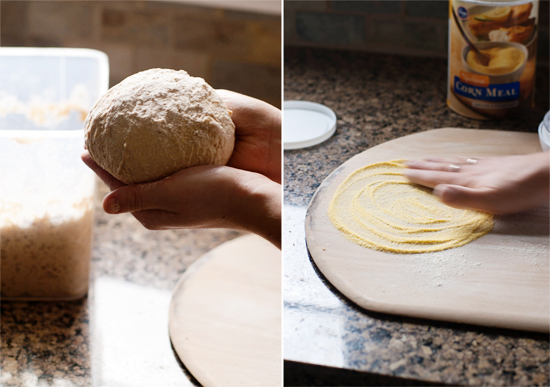
To prepare your pizza peel, sprinkle a pretty thick layer of cornmeal on the peel and spread it around a bit with your hand. This will prevent the loaf from sticking to the peel. As well as prevent a whole lot of cursing later when your loaf won’t magically slide onto the pizza stone.
Don’t be like me. Prepare your pizza peel before forming your loaf. Otherwise you have to do a bit of juggling. I never learn.
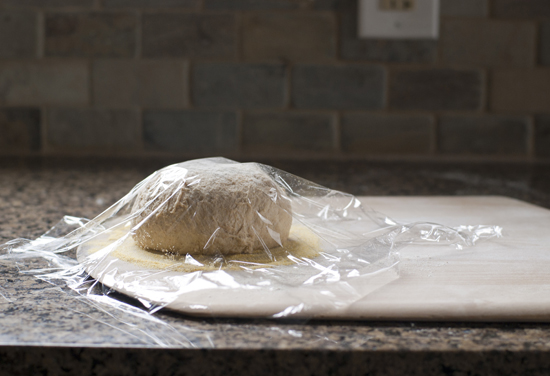
For this loaf, I left it in a round ball but you can also gently elongate the dough into an oval for, well…an oval shaped loaf. I was in a ball mood today. After you have your desired shape formed, place it on the cornmeal prepared pizza peel. Drape it lightly with plastic wrap and walk away. Let it sit for about 90 minutes.
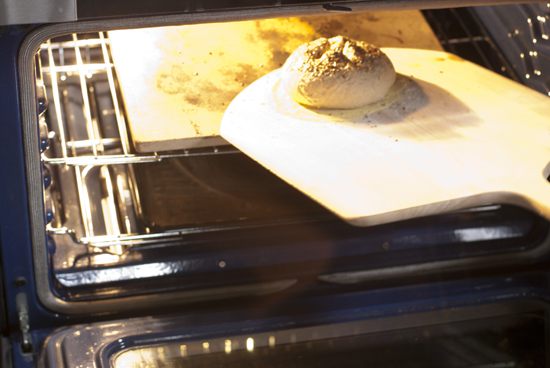
Get your oven ready. Place your pizza stone in the center rack of your oven. Place your broiler pan on the lowest rack in your oven (see photo below). 30 minutes before bake time, preheat your oven to 450 degrees.
*timing tip: After you have your ball of dough formed and draped in plastic wrap, set a kitchen timer for 60 minutes. At the end of the 60 minutes, turn on your oven and reset your timer for 30 minutes. When the 30 minutes are up, it’s time to finish the prep on your loaf.
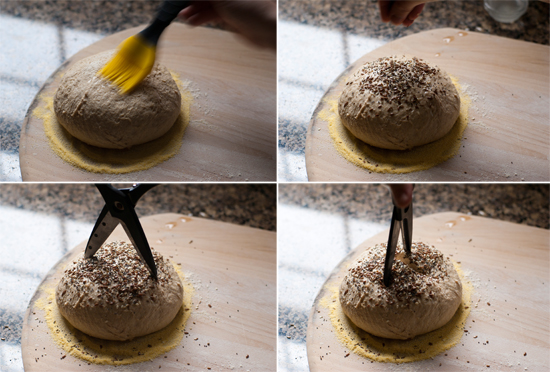
The 30 minute timer has just gone off. Yay! It’s baking time, baby! Remove the plastic wrap from the dough and gently brush the dough with water. Sprinkle the dough with a mixture of whole seeds (I use a combo of flax, fennel, poppy, sesame and anise).
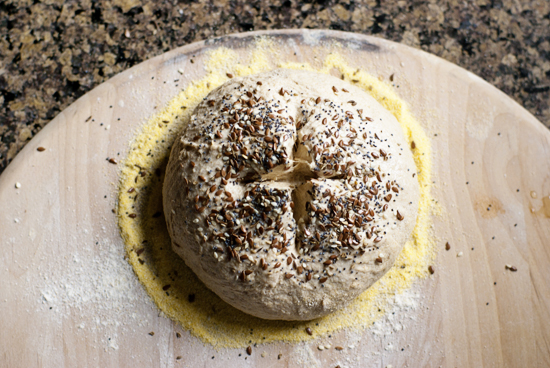
Slash the dough by using a knife, or kitchen scissors as I did here. This helps the dough to bake up nice and pretty. If you forget this step, you may have a blow out on the bottom of your loaf. It’ll be tasty, but funny looking.
Ta da! Ready to bake.
Slide the dough onto the heated pizza stone and then quickly add a cup or so of hot water to the broiler pan and shut the oven door. This water creates a steamy environment-kinda like a day spa-for the bread which gives it it’s beautiful golden and crusty shell. Yum.
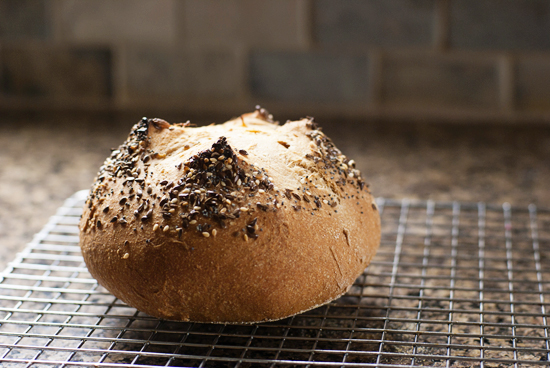
Bake the loaf for about 30-35 minutes and then remove from the oven and allow to cool completely on a wire rack before slicing. Trust me, you want to wait. If you cut into it too soon, the crumb will seem gummy.
At the end of the two hours, slice and spread, top or dip the bread in anything your little heart desires. It’s great for rustic sandwiches, toast and simple snacking.
There are dozens of other bread recipes in the Bread in 5 family of books, this is just the tip of the iceberg. Mark and Zoe have dozens of forums and videos answering questions about their recipes as well as sharing really creative variations. I spent more time than I care to admit here pouring over their videos this summer. What can I say? I’m a visual learner.
*Note: For this particular recipe, the dough can be stored in the fridge and used for up to 14 days. Also, when the dough is gone, don’t worry about washing out the bucket. Just mix a new batch right away in the same bucket, with bits of the previous batch still in it. This will develop a sour dough quality to the bread that is just to-die for. If you don’t groove on sour dough-ishness, then by all means, you can wash and reuse.
Phew! I am so glad to have shared this with you and now I feel like we can talk about it all the time. Preferably over a cup of coffee and a slice of bread. Okay, I promise to keep the bread chatter down to a minimum, but now at least you’ll know what I’m talking about when I mention ‘my bread’. Enjoy!
*Update* 1/8 of a 1lb loaf of bread baked from this recipe is worth 2 Weight Watchers Points+.
Note: I am in no way affiliated or being compensated for this post. I just really love and believe in the recipes from the Bread in 5 family and wanted to share them with you.



I may be missing where you state this above, but I’m wondering, since you’re using only a portion of the refrigerated dough at one time, how long can you leave the rest in the fridge before using? (I assume the ease of this is in having the dough available and doing the rising and baking parts separately from making the actual dough.)
Hi Liz! Yes, I did mention briefly that you can use the dough for up to 2 weeks, but I should explain that further. This particular recipe is good in the fridge for up to 14 days. Several of the recipes from the Bread in 5 books are only good for 5 days (typically the ‘enriched’ doughs that involve butter or eggs), so be sure to check each recipe if you look into more from the books. Thanks for stopping by and checking about that! If you decide to give it a try, I’d love to hear how it turns out 🙂
Thanks for the detailed response. I’ve made bread in the past to avoid all of the preservatives from store-bought (and it just tastes so much better!), but it’s a lot of work. This method of preparing a larger batch is wonderful, especially the no-knead part!
I’m glad I could clear it up. I totally agree with you about the home baked bread. There is something so real about it, and this method makes it more accessible. I hope you enjoy it as much as I do!
Wow just came across your blog via PW’s Tasty Kitchen site. I love your blog! I make from scratch pizza weekly and have been wondering about having a supply of premade dough in the fridge to draw from. Will definitely be trying this recipe soon. And maybe I’ll even try breadmaking again! Thanks fro sharing 🙂
Pingback: thanksgiving leftover pizza | Jelly ToastJelly Toast
Pingback: panzanella salad and a big kitchen giveaway! | Jelly ToastJelly Toast
Pingback: roasted tomato and garlic whole grain bread | Jelly ToastJelly Toast
Pingback: healthy eating....part deux | Jelly ToastJelly Toast
Pingback: roasted tomato soup + garlic croutons - Jelly Toast
Pingback: gift guide for cookbook collectors + a giveaway! - Jelly Toast
Pingback: Brined Pork Loin Roast with Pineapple Chutney - Jelly Toast
Pingback: roasted tomato soup + garlic croutons - Jelly Toast
Pingback: summer squash tartines - Jelly Toast
Pingback: iced coffee cocktail {cocktail fridays} - Jelly Toast