
a tale of two breadcrumbs

I am proud somewhat troubled to admit that I had a marathon of bread baking this weekend. In truth, it might be more troubling to admit that it was in honor of The Hunger Games coming out on video. Have you seen it? It’s amazing. I loved the books, loved the movie, and I am now one of those people eagerly awaiting the casting of Finnick (please be someone fantastic!). Yes, I am 30 years old and I love The Hunger Games. Okay, I will ease up on the HG talk for the rest of the story.


First, gather the bread you will be using to chop into crumbs. I store my ends in a bag in the freezer until I have ‘enough’ or until I am in the mood to make some crumbs. Now if your bread is frozen, allow it to sit out and defrost for a bit before putting through the food processor. For extremely crusty bread, use the shredding disc on your food processor to create the crumbs. The thick crust is usually too much for the chopping blade to break down, and bread can get stuck on your blade. If you have a softer bread (white sandwich loaf) the chopping blade will work.
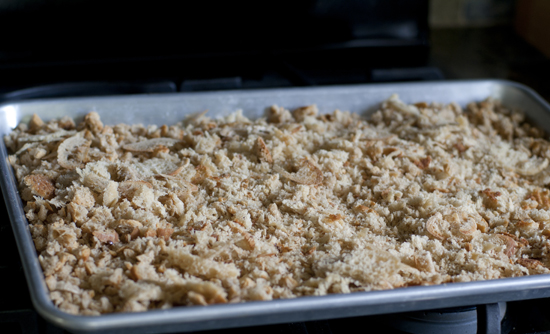
Spread your newly formed crumbs out onto a baking sheet. The crumbs can be a variety of sizes (I enjoy a coarse crumb). Bake your crumbs in a 350 degree oven for about 20 minutes or until completely dry and toasted but not burnt. If you have a thick layer of crumbs you may want to bake them for a bit longer. If you have a thin layer of crumbs, bake them for a shorter amount of time.

When the crumbs are toasted, allow them to cool. If you desire a finer crumb, send them through your food processor again using your chopping blade. I left half of my crumbs coarse – for use in topping casseroles and mac & cheese – and processed the second half into fine crumbs for use in meatballs and meat loaf. Any shaped meat, really. Store them in bags or freezer safe containers in the freezer for up to 6 months. The crumbs can be used directly out of the freezer. Now that you see how easy (and thrifty) this is I hope you are inspired to give it a whirl. Get it? A whirl in the processor?
Homemade Breadcrumb Recipe
Prep Time:5 minutes
Cook Time:20 minutes
Total Time:25 minutes
Ingredients
Directions
Place bread in food processor and pulse processor until bread is desired crumb size (coarse or fine - see notes)
Spread crumbs onto a rimmed baking sheet and bake at 350 degrees for about 20 minutes or until completely dry.
Bread crumbs can be stored in an airtight container or bag in the freezer for months. No need to defrost before use.
Notes:
I store ends of bread loaves in the freezer and make a batch of bread crumbs after I have gathered a bag of scraps. You can season your breadcrumbs with garlic powder, salt and pepper if you'd like. I like to keep mine plain to allow for specific seasoning in each recipe.
If bread is frozen, allow it to defrost before processing in the food processor.
If working with very crusty bread, use the shredder disk in the food processor before buzzing with the regular blades, otherwise the thick crusty bread can get stuck on your food processor blades.
-3")
Pingback: roasted cauliflower + garlic with herbed breadcrumbs - Jelly Toast